
The screenshots below will walk you through the process of creating an event.
As always, contact us with any questions.
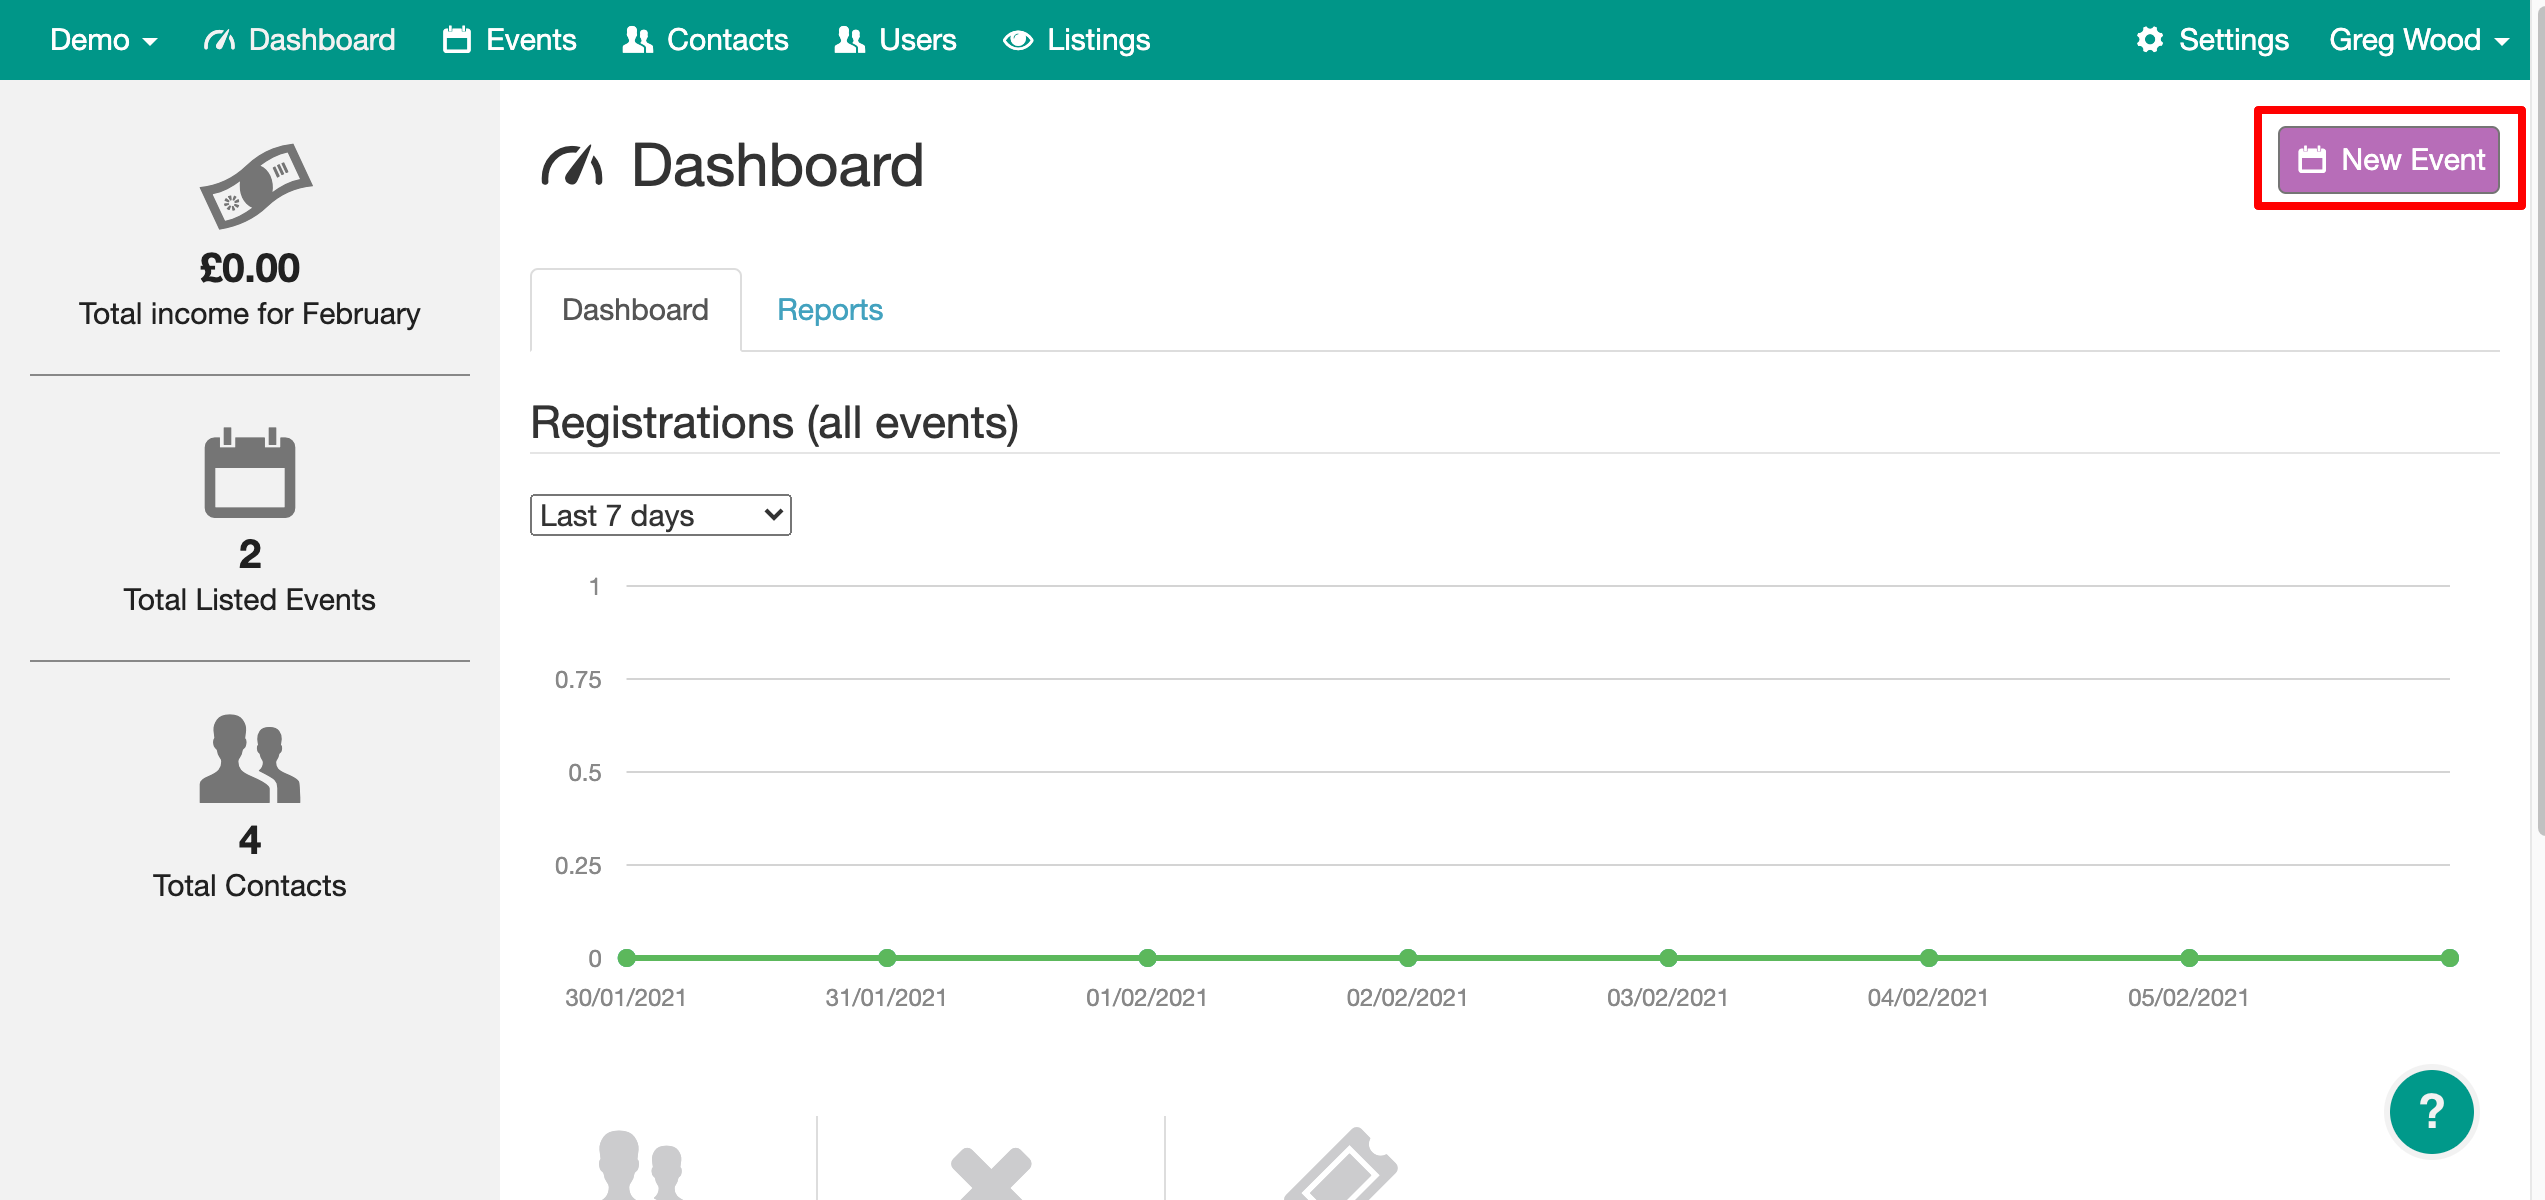
1. Once you login you'll see this screen. Click on "New Event".
2. Now you're ready to create the event! Give it a name, choose a start date and time (and end date and time if required), which template you're using (if you have created your own, they will also appear for you to select) and add the event organiser's contact details.

Add your main registration type and details next (you can add more registration types after basic set up).

Select the event location (or choose Online Event).
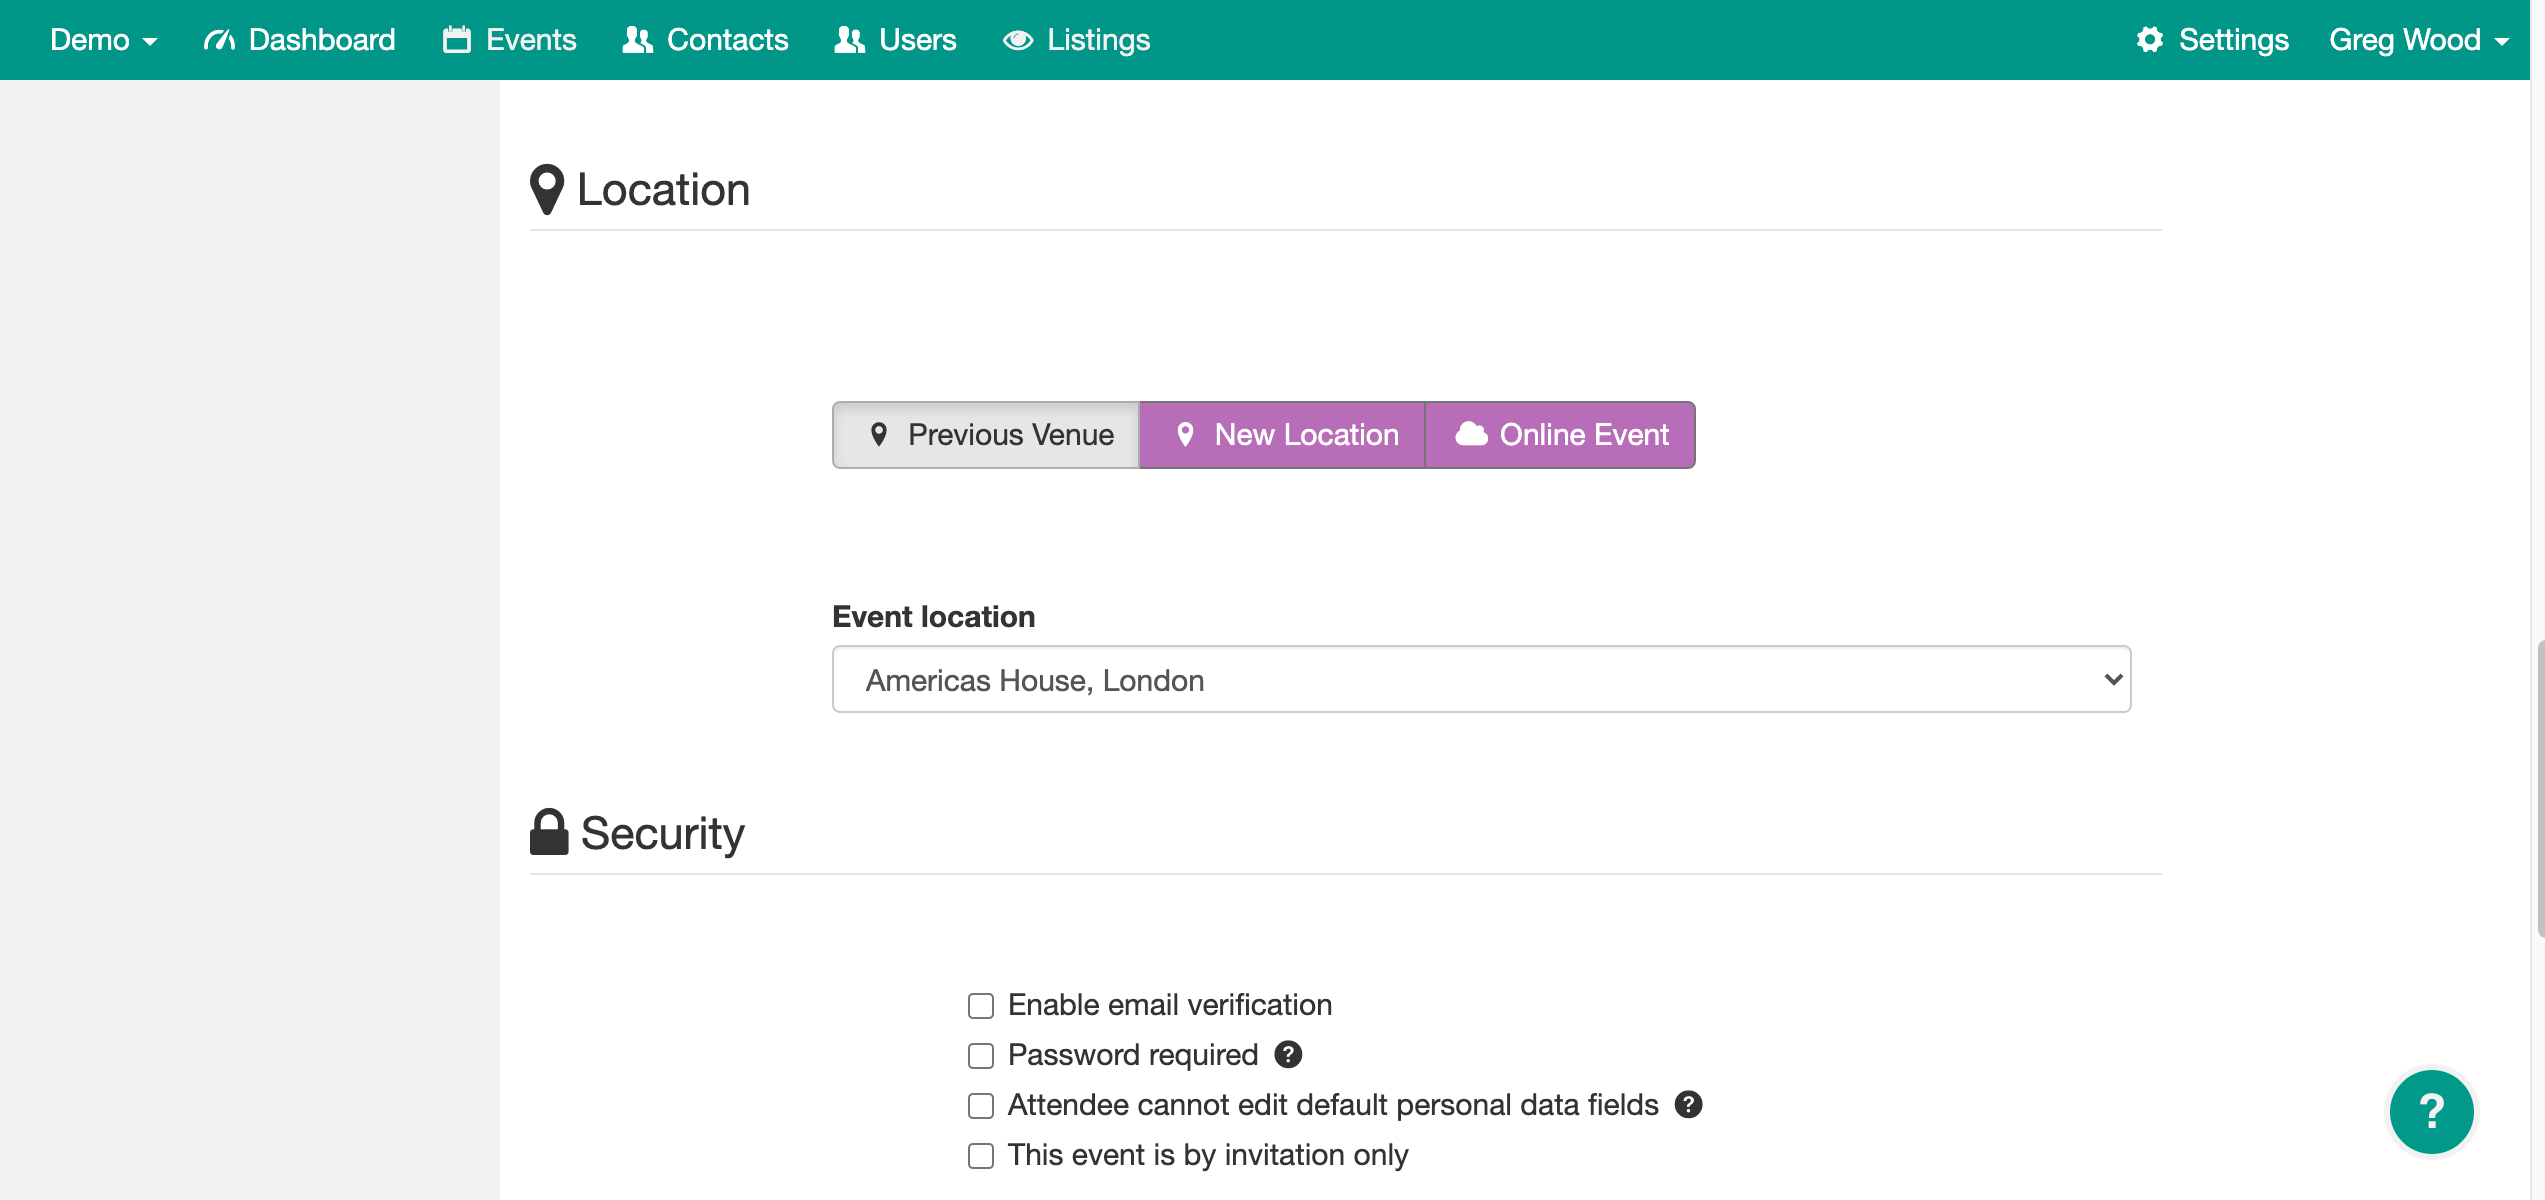
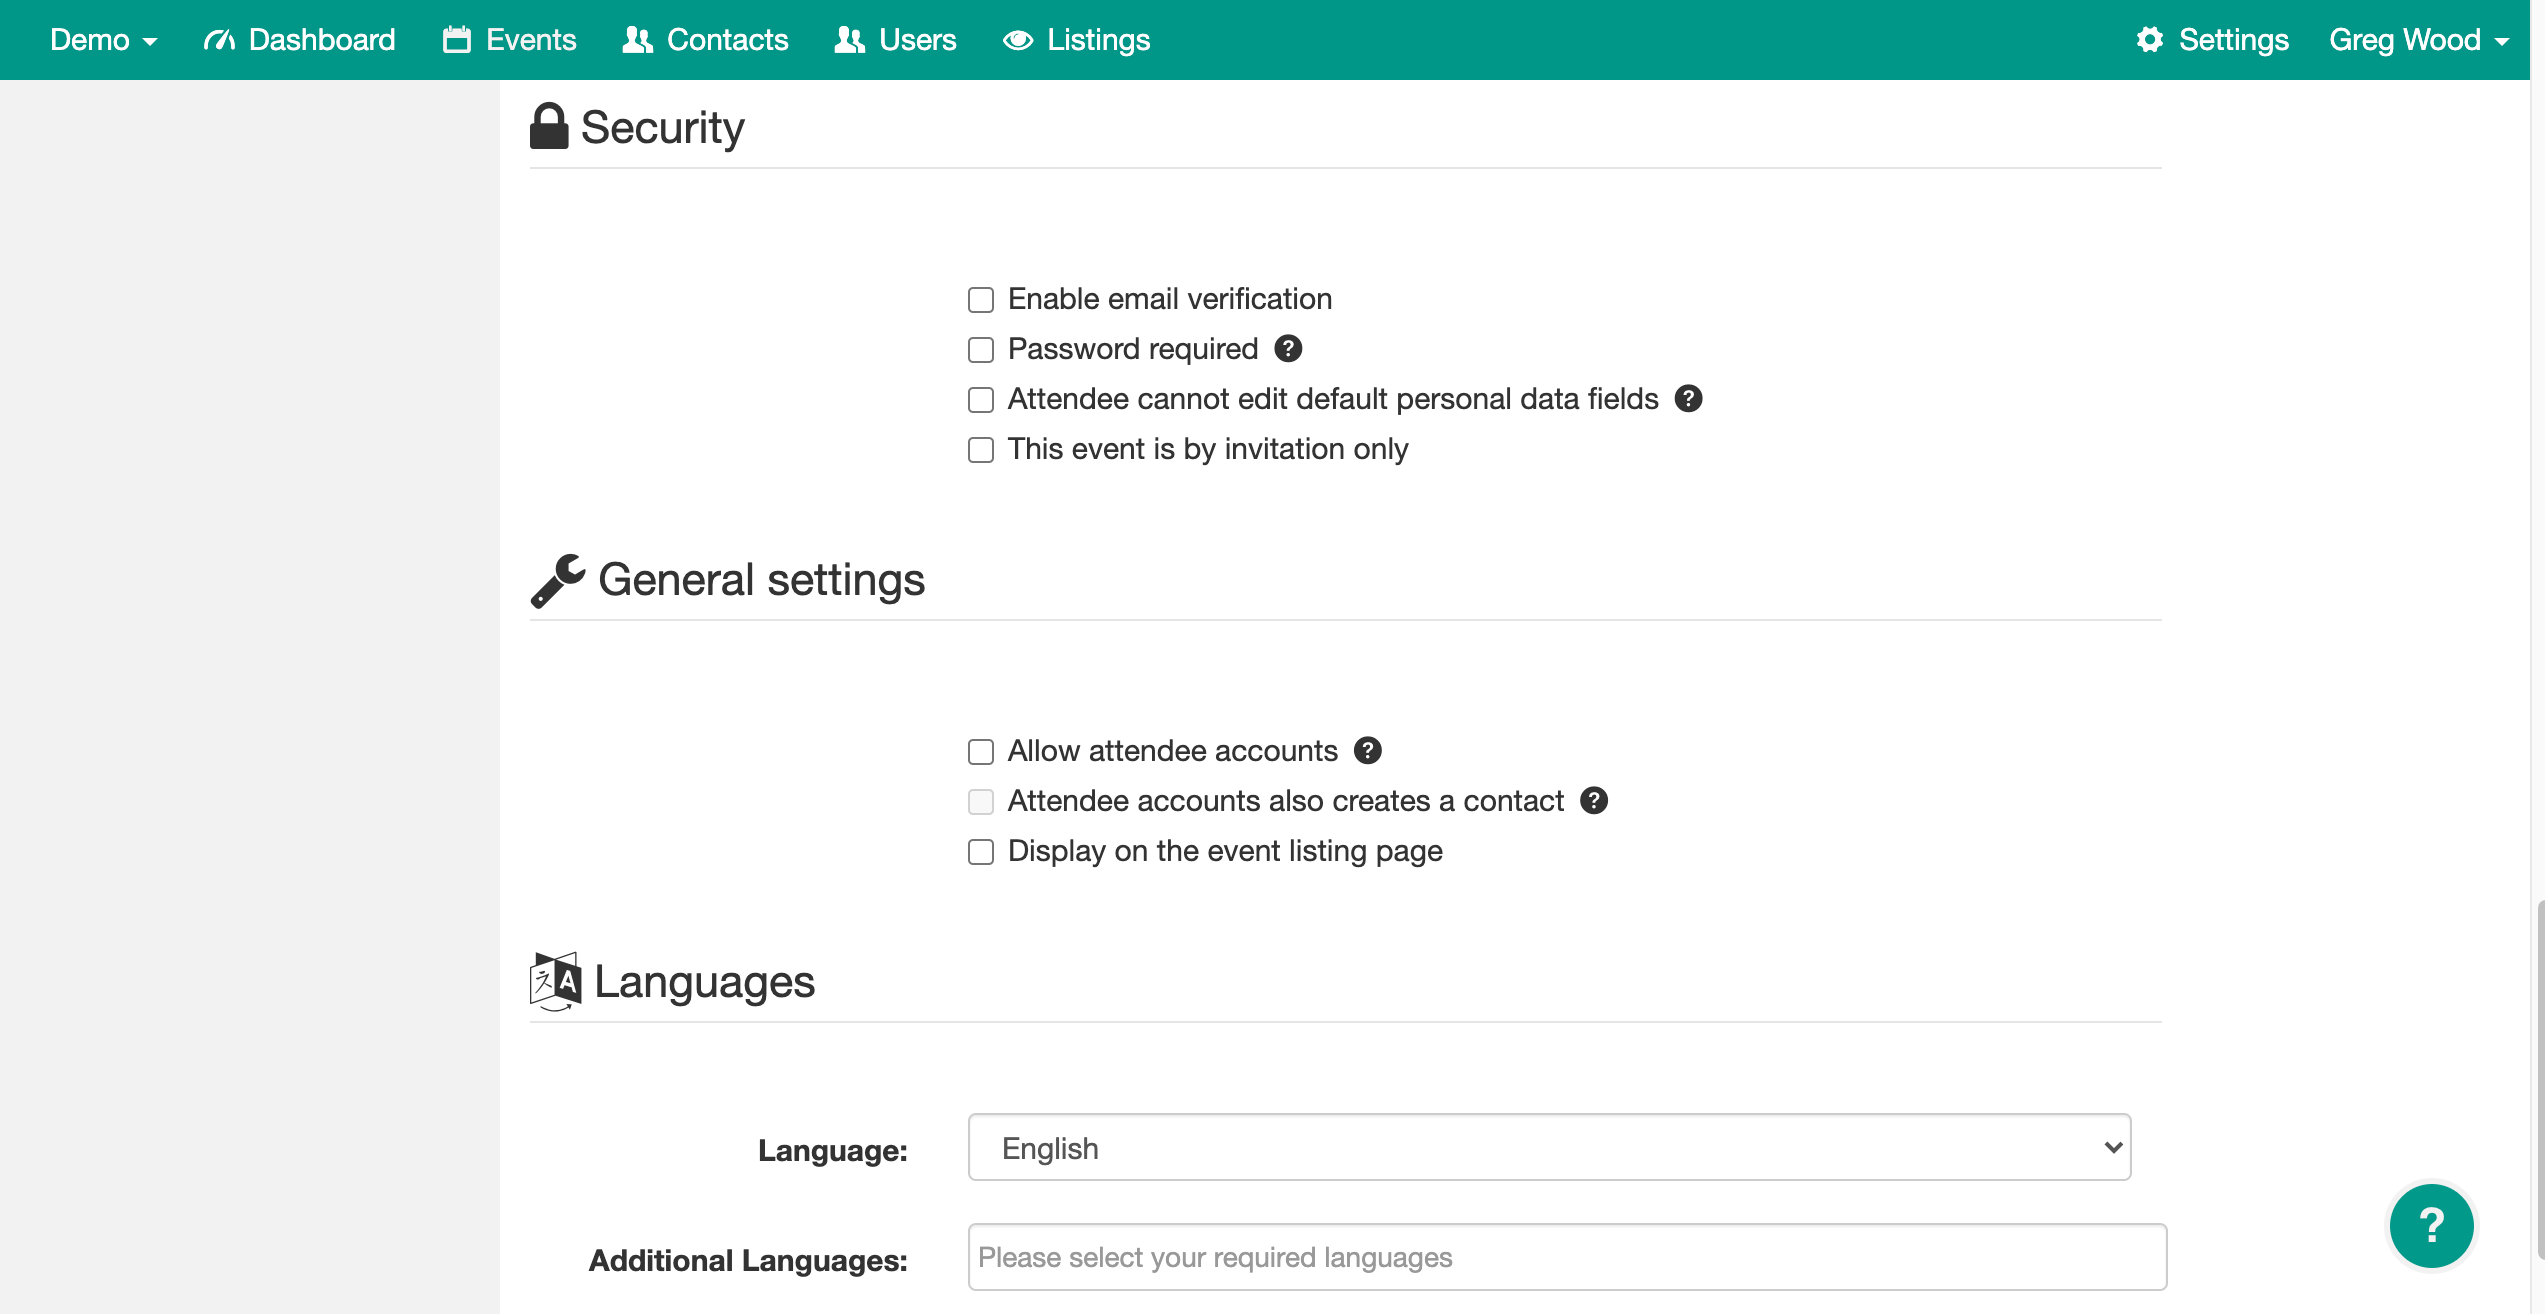
Enabling email verification means that the attendee will have to verify their email address to complete registration.
If you'd like to add a level of security to your event, select the "Password required" option or the "This event is by invitation only" option (selecting both will not work).
If you don't want the default personal data fields (firstname and lastname) editable, select this option.
If you are running regular events and would like attendees to create an account, select the Allow attendee accounts option. If you'd like to create a password enabled contact account then the following must be selected:
Password required
Allow attendee accounts
Attendee accounts also creates a contact
Every account has an event listing page option included. This is a page that displays all events that you have selected to appear. This is great if you are running multiple events and want to let people know about them all. Select this option if you'd like your event to appear on the event listing page.
Select which language or languages (if you're an Admin user you can add translations to the language library in Settings) to be used for the event site and communications.
3. Give it a nice look and feel (see here for more details on how). Option to add additional details like registration types, form questions, agenda, speakers, custom sections and custom pages.
4. It's ready to go live! Click 'Publish' and you'll be taken to a confirm publish event where you'll get a prompt if you haven't set up a payment method (if this is enabled on your account you can find it in Settings/Checkout) and it will confirm if you are charging tax.
That's your first event done!
We'll tell you about adding things like additional registration types, editing the location and adding sections such as agenda and speakers in a separate article.